
Last updated October 15, 2026
 Sweep & inspection
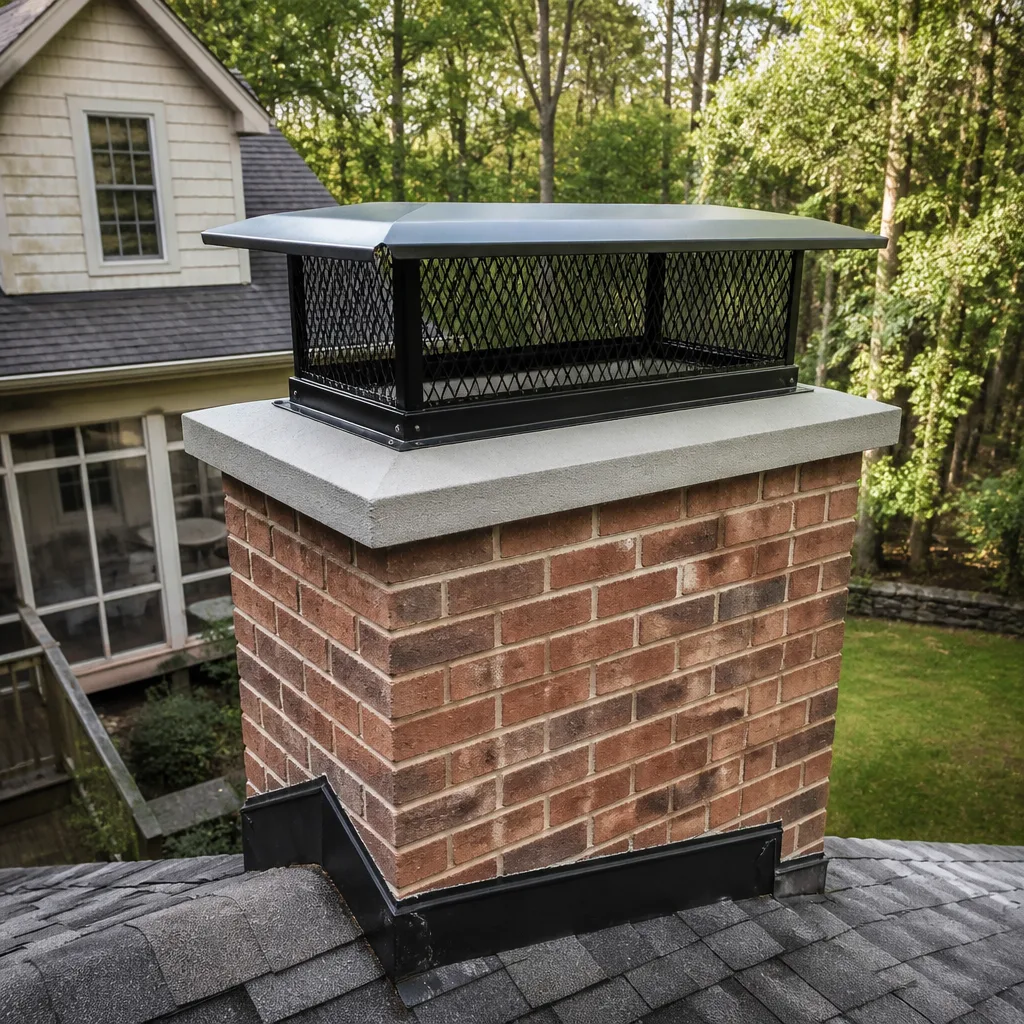
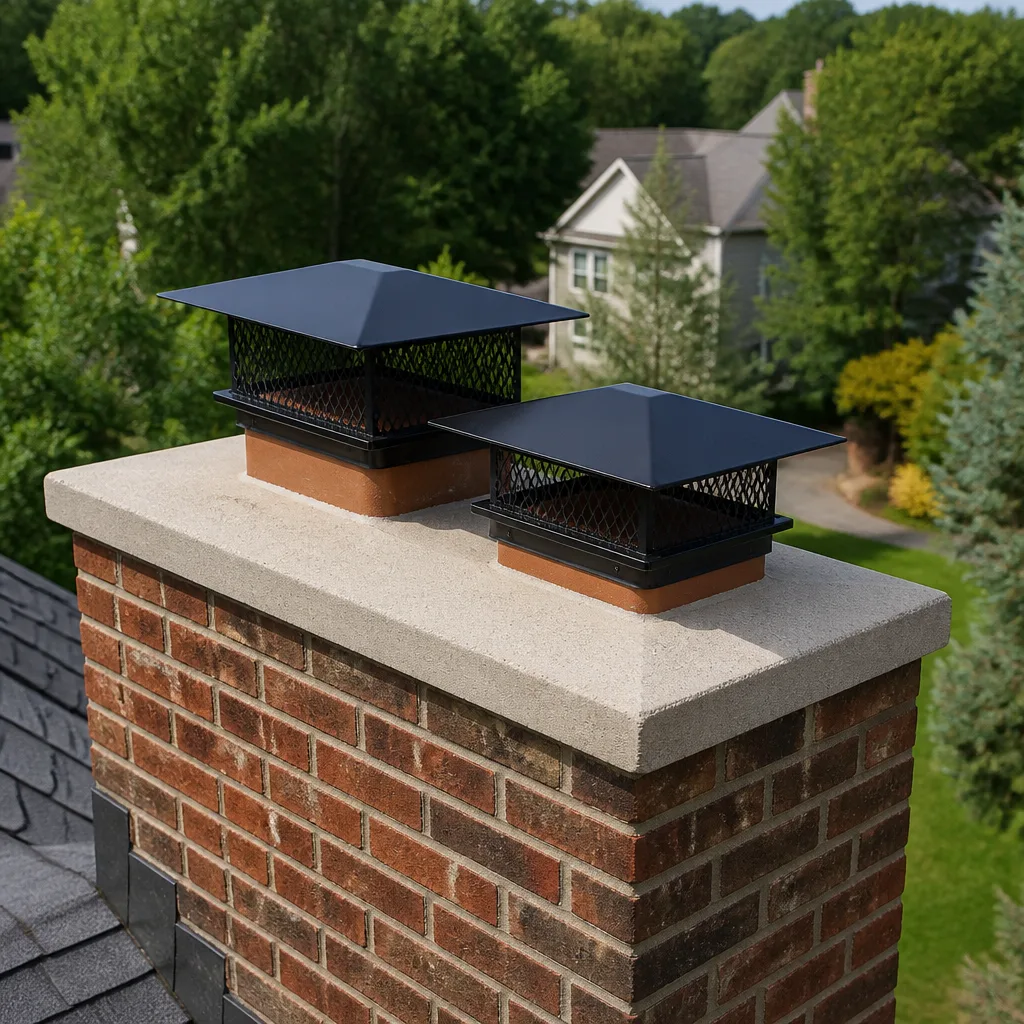 Caps & crowns
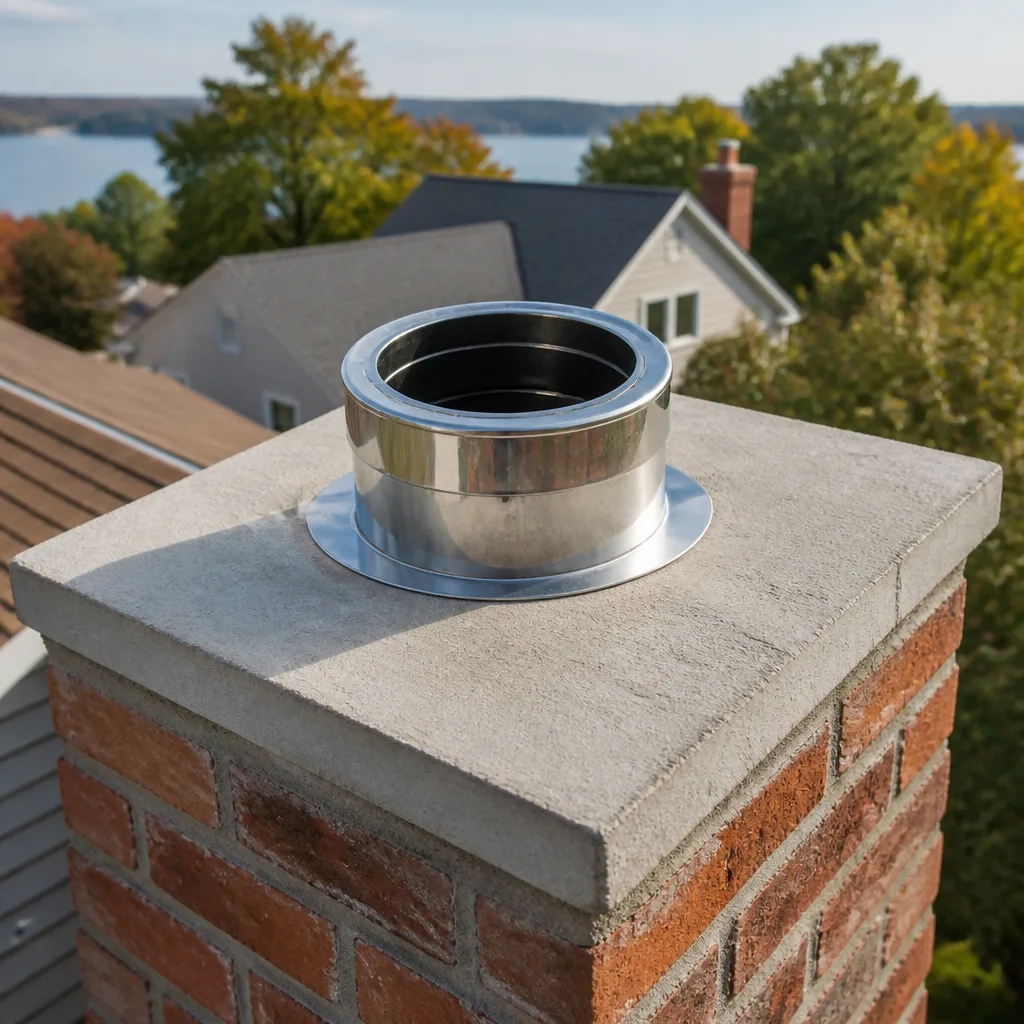 Flue relining
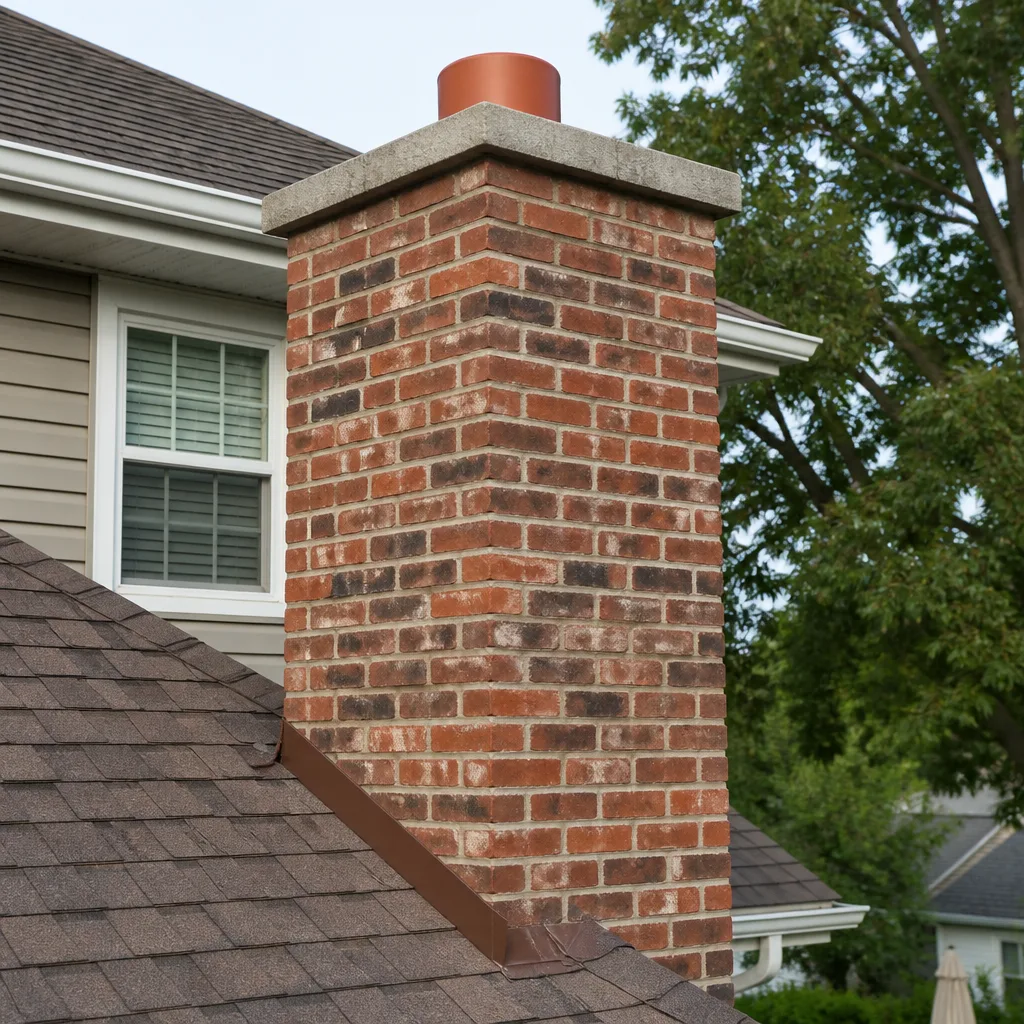 Masonry repair
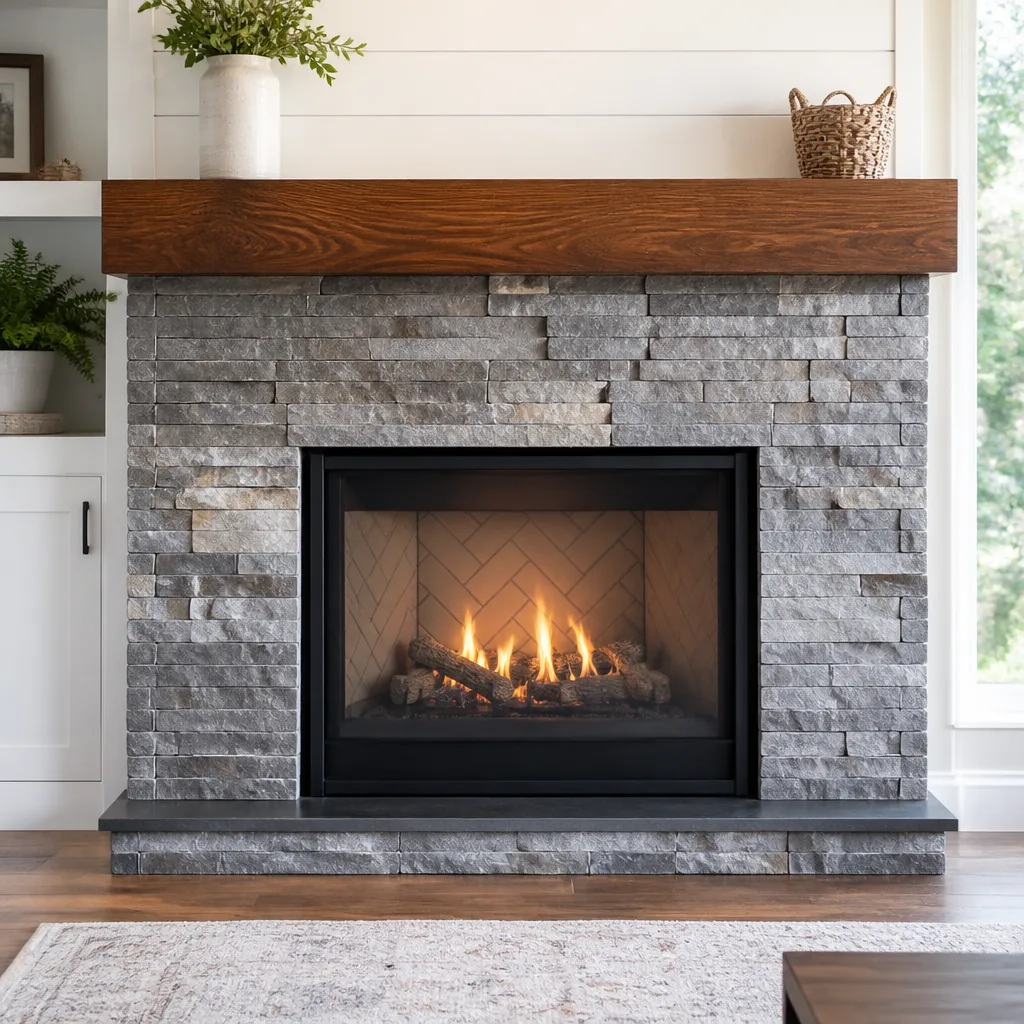 Gas fireplace service
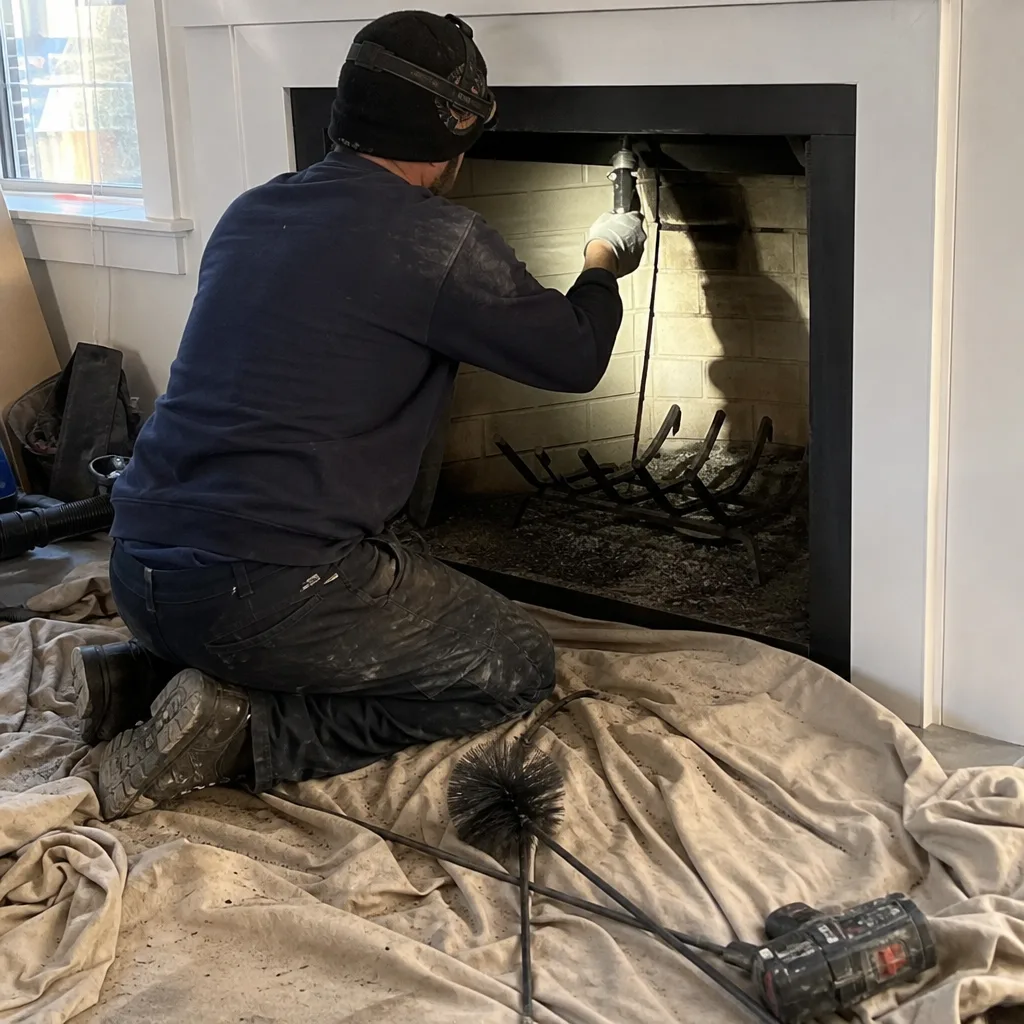
Level 1 sweep and inspection to the NFPA 211 annual standard - flue, crown, cap, and flashing checked and photographed
Chimney sweep logs do not sweep chimneys. They loosen some creosote - which then falls where a brush and vacuum still have to collect it.
Chimney Cleaning Permits, Codes & Inspections in CA: What You Need to Know
A chimney cleaning never needs a permit. A chimney repair almost always does. The line between the two is blurrier than most contractors will admit when they’re eager to start work, and in San Francisco, that line sits at the intersection of the California Mechanical Code, the San Francisco Building Code, and NFPA 211, the national installation standard that most homeowners have never heard of. If you’re a homeowner trying to figure out whether your job is a simple sweep or a permit-triggering alteration, this guide gives you the exact map. By the time you finish reading, you’ll know what requires a permit from the San Francisco Department of Building Inspection (DBI), what doesn’t, how to spot a contractor who’s about to put you in a stop-work situation, and what to demand in writing before the first brick comes out.
Styles & brands we work with
Quick Answer
A standard chimney sweeping in California requires no permit, no inspection, and no municipal filing of any kind, though you can consult our Chimney Sweep Maintenance Checklist for San Francisco Homeowners to stay on track. A permit is required the moment work crosses from cleaning into alteration: replacing a flue liner, rebuilding any portion of the firebox, changing fuel type, or modifying the chimney’s structure. In San Francisco, those permits come from the Department of Building Inspection, and the work must comply with the California Mechanical Code and NFPA 211.
Table of Contents
- Maintenance vs. Alteration: Where California Draws the Permit Line
- San Francisco-Specific Permit Triggers and DBI Jurisdiction
- NFPA 211: The Standard Inspectors Actually Enforce
- When a Level 2 Inspection Becomes a Code Compliance Document
- Liner Replacement and Relining Permits: The Most Common Mid-Project Surprise
- What to Demand in Writing Before Any Repair Work Begins
- How to Pull a Chimney Permit in San Francisco: Step by Step
- Common Mistakes to Avoid
- When to Call a Professional
- Frequently Asked Questions
- The Bottom Line
Maintenance vs. Alteration: Where California Draws the Permit Line
The California Mechanical Code draws a clean distinction between work that maintains an existing system and work that alters it. A sweep falls squarely into maintenance. You’re removing creosote, the tar-like byproduct of wood combustion that condenses on flue walls and is the primary fuel for chimney fires in San Francisco. Brushing it out leaves the chimney exactly as it was, just cleaner. No permit, no filing, no DBI involvement. The same applies to a visual grime check with a camera and a basic smoke test.
Alteration starts the moment you change the chimney’s function, structure, materials, or fuel path. Here’s what the California Mechanical Code classifies as alteration, and therefore permit territory:
- Flue liner replacement or relining. Removing an old clay tile liner and dropping in a stainless steel system like a DuraFlex liner is an alteration. You’re changing the material that contains combustion gases. Permits are required.
- Firebox rebuild or any masonry reconstruction. Replacing firebrick in the firebox, rebuilding the smoke chamber, or tuckpointing more than a small patch moves the job from repair to structural work. Permit required.
- Fuel type conversion. Switching from wood-burning to gas, or from gas logs to a direct-vent insert, changes the appliance and the venting requirements. Permit required.
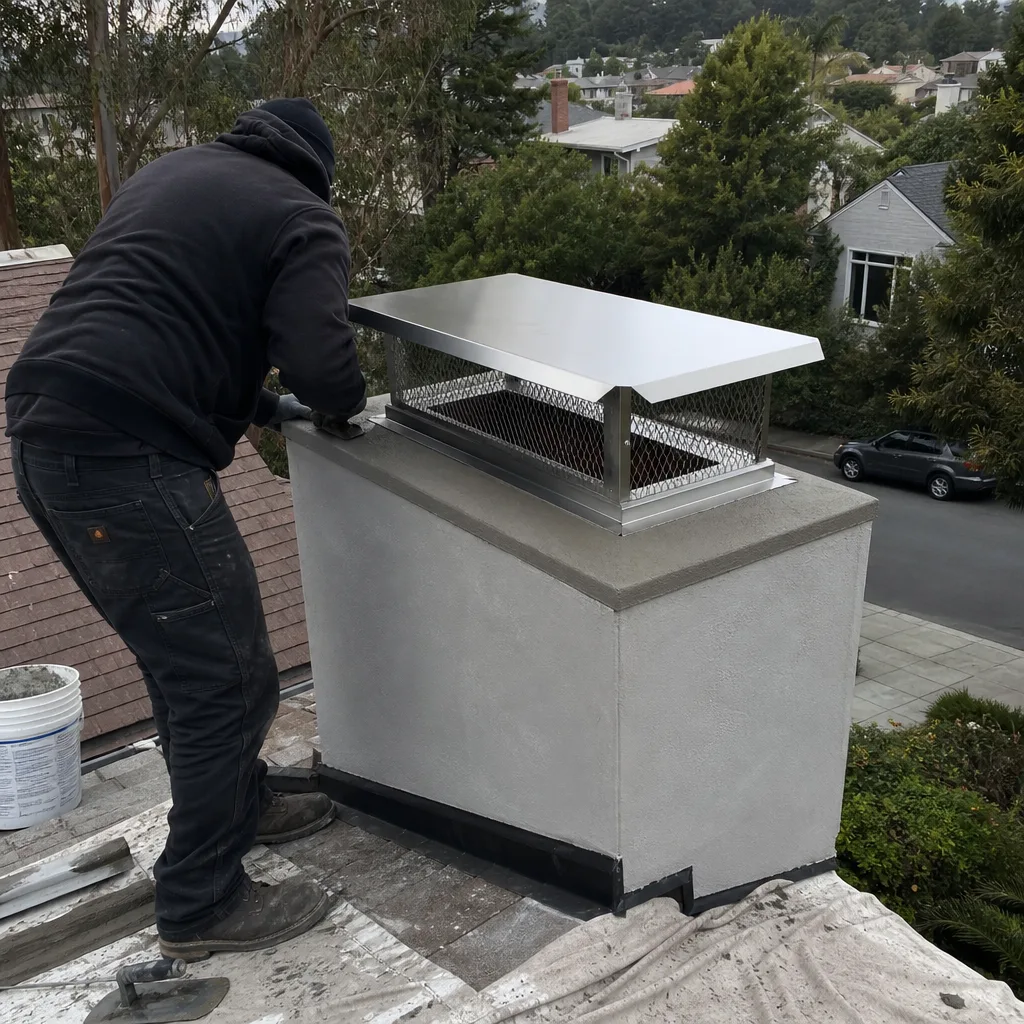
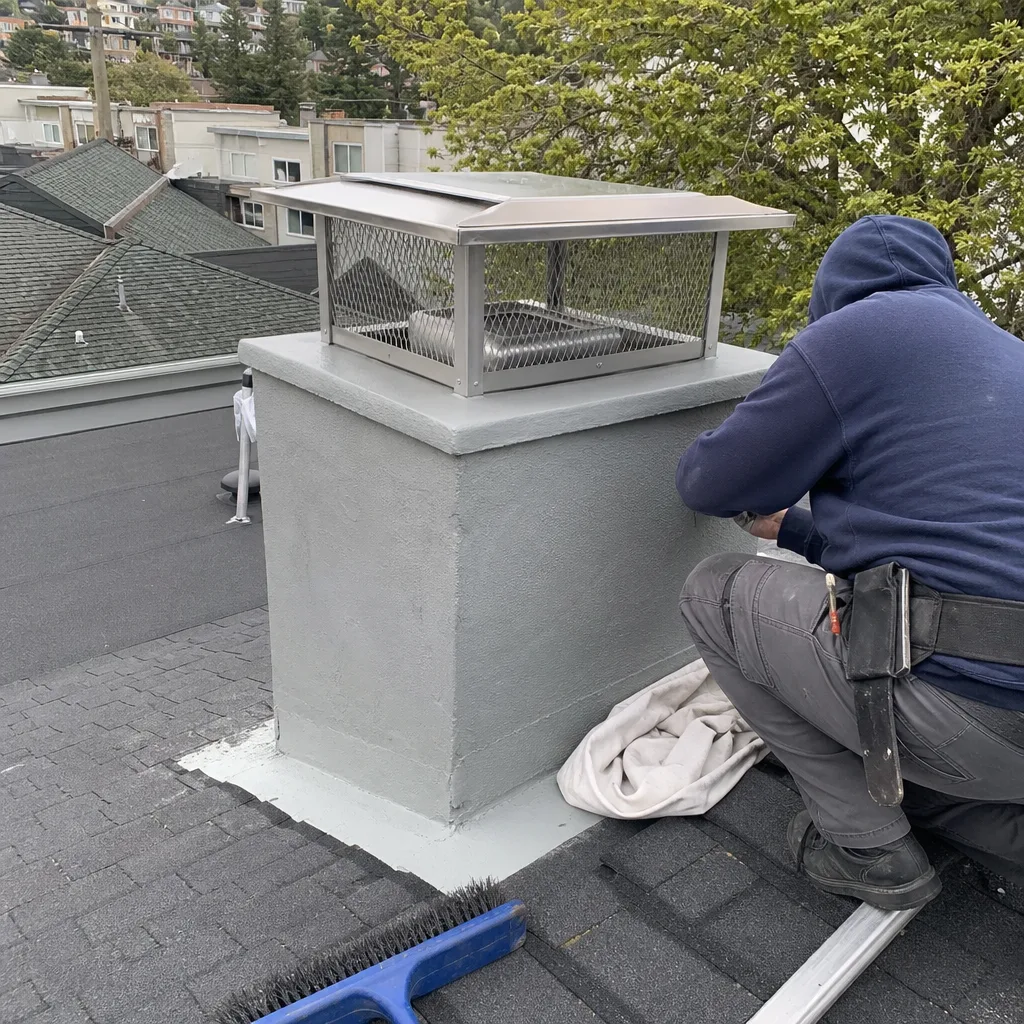
- Chimney height extension or crown rebuild. New cap? Usually maintenance if it’s a like-for-like swap. But extending the flue or rebuilding the concrete crown that seals the top of the chimney involves structural work. Permit required.
- Appliance replacement that changes venting. Swapping a gas insert for a new model with different clearance requirements or vent sizing often triggers a permit even if the chimney itself is untouched.
Here’s the part contractors in San Francisco tend to gloss over when they’re eager to start: “we’ll just handle the permit later” is not a thing. Once the DBI gets a complaint from a neighbor, or an inspector drives by and sees scaffolding, you’re into a stop-work order, retroactive permit fees, and often a fine that doubles the cost of the original permit. We’ve watched homeowners in the Richmond District and Noe Valley learn this the expensive way. The honest framing is simple: if the job description includes the word “rebuild,” “replace,” “convert,” or “relining,” assume a permit until you have it in writing that one isn’t required.
San Francisco-Specific Permit Triggers and DBI Jurisdiction
San Francisco has its own layer of rules on top of the California Mechanical Code, and the enforcing body is the Department of Building Inspection, the DBI. Their jurisdiction covers every chimney inside city limits, from a single-family Victorian in the Mission to a top-floor condo in South Beach. The biggest difference between San Francisco and the rest of the state is that the DBI treats chimneys as part of the building envelope in ways that other municipalities don’t, especially in older housing stock.
Most of the chimneys we inspect in San Francisco were built before 1940. In neighborhoods like the Sunset, Bernal Heights, and the Excelsior, it’s common to find original unreinforced masonry chimneys that have survived earthquakes by luck and mortar alone. That’s not a historical curiosity. It’s a permit consideration. The DBI can, and sometimes does, require an engineering letter or masonry reinforcement as a condition of approving a repair permit when the existing chimney is substantially deteriorated. You won’t see that requirement in most California cities.
SF-specific triggers we tell homeowners to know about:
- Seismic reinforcement requirements. If a repair opens up enough of the chimney to expose its relationship to the roofline or the framing, a DBI plan reviewer may flag the need for seismic strapping or bracing per San Francisco Building Code Chapter 18. This doesn’t happen on a simple sweep, but it does happen on rebuilds.
- Soft story buildings. If your home is a soft-story property that’s already in the city’s mandatory retrofit program, any chimney alteration can fold into that compliance file. The DBI tracks this. Expect more paperwork, not less.
- Historic district overlays. Homes in designated historic districts, including parts of the Haight, Pacific Heights, and Dogpatch, can require additional review if the exterior of the chimney is visible from the street and you’re changing its appearance. That’s a Planning Department overlay on top of the DBI permit.
- Agent-of-record requirements. Contractors pulling permits in San Francisco must be licensed with the California Contractors State License Board and registered with the city. If your contractor asks you to pull the permit yourself as an owner-builder, that’s sometimes legal but rarely wise, and it shifts liability onto you.
For chimney inspections in San Francisco, the DBI doesn’t need to be involved at all unless the inspection turns up conditions that trigger repair work. Then the paper trail starts.
NFPA 211: The Standard Inspectors Actually Enforce
NFPA 211 is the National Fire Protection Association’s Standard for Chimneys, Fireplaces, Vents, and Solid Fuel-Burning Appliances. It’s not a law on its own, but the California Mechanical Code adopts it by reference, which makes it enforceable. When a DBI inspector walks up to your chimney repair, they’re checking the work against NFPA 211’s clearance requirements, material specs, and installation methods.
Here’s what NFPA 211 actually says, translated from code language:
- Clearances to combustibles. A masonry chimney needs 2 inches of air space from combustible framing, unless it’s a factory-built system with its own listing. In old San Francisco homes, the gap is often zero, which is why gas fireplace repairs and liner installations often uncover framing that should never have been that close to a hot flue.
- Liner requirements. Every chimney serving a solid fuel appliance must have a liner that’s continuous from appliance to termination. Missing, cracked, or spalling clay tile liners fail this requirement. Stainless liners like DuraFlex and Gelco systems are the standard replacement because they’re listed to UL 1777 and accepted under NFPA 211.
- Creosote trigger levels. NFPA 211 says a chimney should be swept when creosote buildup reaches 1/8 inch. That’s the line between “cosmetic” and “hazard,” and it’s why a sweep isn’t optional once buildup hits that point.
- Inspection levels. NFPA 211 defines three levels of inspection. Level 1 is a visual check. Level 2 includes camera scanning and is required when a property transfers, after a chimney fire, after an earthquake, or when the fuel type changes. Level 3 involves opening up the structure.
Here’s a practical thing we tell homeowners in San Francisco: if a contractor is proposing a liner replacement or firebox rebuild and they can’t cite NFPA 211’s clearance requirement or UL listing standards when you ask, that’s a yellow flag. Competent contractors live in this standard. The ones who don’t cite it are often the same ones who skip the permit. We carry and install professional trade brands like DuraFlex and HeatShield specifically because they’re listed to the UL standards that NFPA 211 references. No box-store substitutes, no improvisation.
When a Level 2 Inspection Becomes a Code Compliance Document
A Level 2 chimney inspection is a camera-assisted examination of the entire flue system, and under NFPA 211, it’s required in specific circumstances: property transfer, chimney fire, earthquake, lightning strike, or any change in fuel type. In San Francisco, that list gets exercised more than you’d think. We have earthquakes. We have property turnover. We have a lot of old homes changing hands with open fireplaces that haven’t been used in decades.
Here’s what most people don’t know: when a Level 2 inspection is done as part of a real estate transaction, the report often becomes a code compliance document in the eyes of the buyer’s lender or insurance underwriter. It’s not just a “you should probably address this” note. The findings can show up as a condition to close escrow. A cracked liner noted in a pre-sale Level 2 becomes a repair item with a dollar figure attached, and that repair, if it involves relining or rebuild, triggers a permit. The inspection report becomes Exhibit A.
A different trigger: fuel-type conversion. If you’re converting a wood-burning fireplace to gas logs or a gas insert, NFPA 211 requires a Level 2 inspection before the conversion. The inspector verifies that the existing flue is compatible with the new fuel, checks the clearances, and documents the condition of the liner. If the liner is damaged enough that it can’t safely vent the new appliance, you’re into relining territory, which is a permitted alteration.
The practical takeaway: don’t treat a Level 2 inspection as a formality. In San Francisco, it’s often the document that opens the permit conversation. If you’re buying or selling, get it done early. If you’re converting fuel, get it done before the gas line paperwork starts, because the DBI will want to see it.
Liner Replacement and Relining Permits: The Most Common Mid-Project Surprise
If there’s one job that catches San Francisco homeowners off guard mid-project, it’s liner replacement. It starts as a sweep. The technician fires up the camera and finds cracked clay tiles, or worse, a missing liner section. The recommendation is a stainless steel relining system. The homeowner approves the quote. Work begins. Then someone asks about the permit.
Here’s the truth: any liner replacement or relining job in San Francisco requires a DBI permit. That includes dropping a flexible stainless liner down an existing flue, which looks deceptively simple but is still classified as alteration. The liner is now the primary containment for combustion gases, and it needs to meet UL 1777, be sized to the appliance per NFPA 211, and be installed with proper terminations and connections. The DBI treats this as real work, and so should you.
What a typical liner permit involves in San Francisco:
- Contractor pulls the permit. The licensed contractor files with the DBI as the permit holder. You should never be asked to pull it yourself for a liner job; if you are, ask why.
- Scope letter. The contractor submits a scope of work describing the existing conditions, the proposed liner system (brand and UL listing), and the appliance being served. Whether they’re quoting DuraFlex, Gelco, or another listed system, the permit application names it explicitly.
- Plan review, sometimes. Simple relining jobs can be over-the-counter permits at the DBI’s 49 South Van Ness office. Complex jobs, especially those involving the firebox or appliance replacement, may get routed to plan review, which adds days.
- Rough inspection. An inspector comes out after the liner is in place but before it’s permanently concealed, to verify the installation against the approved scope and NFPA 211 clearances.
- Final inspection. After the appliance is reconnected and the system is tested, the inspector signs off. You get a final permit card. Keep it. It’s your evidence that the work was done legally if you ever sell the house.
The timeline for a straightforward relining permit in San Francisco is usually 1 to 3 weeks from filing to final sign-off, depending on DBI workload and whether plan review gets involved. That’s why you don’t want this to be a surprise. We tell every client in neighborhoods from the Outer Sunset to Potrero Hill: if the camera shows a liner problem, the permit conversation happens before any materials are ordered, not after the old liner is sitting on a tarp in the backyard.
What to Demand in Writing Before Any Repair Work Begins
This is the section that saves people from the worst situations we’ve seen. The homeowner hires a contractor, the contractor says “we’ll take care of the paperwork,” work starts, and then the job stops when a DBI inspector shows up and asks to see the permit card. Now the contractor is gone, the chimney is half-demolished, and the homeowner is holding a stop-work order on their own property. It happens in San Francisco more than anyone wants to admit.
Here’s what you demand in writing before the first brick is touched:
- A written scope of work that names the permit. If the job involves liner replacement, firebox rebuild, fuel conversion, or structural repair, the scope should state clearly: “DBI permit required and included.” If the contractor insists no permit is needed, get that in writing too, with their license number and signature. Watch how they respond. Contractors who know their stuff write it down without flinching. The ones who hedge are telling you something.
- The UL listing for any replacement materials. If they’re installing a stainless liner, the quote should name the system, whether it’s DuraFlex, Gelco, or another listed brand, and state that it’s UL 1777 compliant. If they’re resurfacing with a product like HeatShield, the quote should reference the product’s listing and the manufacturer’s installation standard. “Generic liner” is not a thing that passes a DBI inspection.
- A written price that won’t change. Not an estimate. A price. Before any work starts, you should have a number on paper that includes the permit fees, the materials, the labor, and the inspection calls. If a contractor can’t give you a fixed price, that’s a conversation worth having before demolition day.
- A written guarantee with a defined coverage period. Any repair, especially liner work, should come with a guarantee that states exactly what’s covered and for how long. Vague promises are exactly what gets homeowners stuck. If the repair fails within the coverage period, the second visit should be free. You want that in writing.
- License and insurance confirmation. The contractor’s CSLB license number should be on the quote. Insurance certificates should be available on request. In San Francisco, the DBI cross-checks this when the permit is filed, but you should check it before you sign anything.
At Alcott Chimney San Francisco, we put a written price in front of every customer before any work begins, and every repair carries a written guarantee. If the repair fails within the coverage period, we come back and make it right at no charge. That’s not an upgrade we offer if you ask nicely. It’s the default.
How to Pull a Chimney Permit in San Francisco: Step by Step
If you’re doing this yourself, or you want to understand what your contractor is doing on your behalf, here’s the process in the order it actually happens at the DBI.
- Determine the permit type. Most chimney repairs fall under a building permit with a mechanical scope. The DBI’s over-the-counter permit desk at 49 South Van Ness handles straightforward relining and repair jobs. If your job involves structural work, seismic reinforcement, or appliance replacement, expect plan review.
- Prepare the scope of work. This includes the property address, the specific work being performed, the materials and UL listings, and the existing condition. A Level 2 inspection report with camera photos supports the application and often speeds up review.
- File the application. Your contractor files as the permit holder with their CSLB license number. Fees are calculated based on the valuation of the work, which is why you want an honest valuation on the application, not a lowball number that flags review later.
- Respond to any plan review comments. If the DBI sends it to review, the reviewer may ask for additional detail: clearance drawings, UL listings, or an engineer’s letter for deteriorated masonry. This adds days to the process, but it’s the review doing its job.
- Schedule the rough inspection. Once the permit is issued and the work is underway, the inspector comes out to verify the installation. For liner jobs, this happens after the liner is in but before it’s capped. For firebox rebuilds, it happens after the masonry is laid but before the finish work.
- Schedule the final inspection and keep the permit card. After the work is complete and the system passes, the inspector signs the final. The permit card is your proof of legal work. File it with your house records. When you sell, the buyer’s agent will ask about it.
One note from our own experience: the DBI processes thousands of these permits every year, and most go through without drama. The ones that don’t are almost always the ones where the contractor tried to skip the permit and got caught. The most expensive permit in San Francisco is the one you didn’t get.
Common Mistakes to Avoid
- Believing “we’ll handle the permit later” is a valid plan. It isn’t. Once work starts without a permit, a single call from a neighbor or a passing inspector turns a simple repair into a stop-work order and retroactive fees. Later always costs more.
- Assume a sweep quote covers everything. A sweep is a sweep. If the camera finds a cracked liner, the repair is a separate job, a separate price, and a permit-triggering scope. Getting the camera report in writing is the difference between knowing and guessing.
- Pulling the permit as an owner-builder when a contractor is doing the work. This shifts the liability onto you and often means the contractor’s insurance doesn’t cover a job they’re doing under your permit. A licensed contractor should carry their own permit.
- Skipping the Level 2 inspection before a fuel conversion. In San Francisco, switching from wood to gas without a documented Level 2 inspection puts you out of compliance with NFPA 211 and gives the DBI grounds to require one retroactively. Do it up front.
- Accepting a verbal guarantee instead of a written one. A guarantee that isn’t written down doesn’t exist. If a contractor can’t put “free second visit if the repair fails within [specific period]” on paper, keep looking.
- Treating the final permit card as optional paperwork. It’s not. You’ll need it when you sell, refinance, or file an insurance claim. A chimney repair without a permit card is a legal question mark on your property file.
When to Call a Professional
A permit conversation starts with knowing what’s actually in your chimney, and the only reliable way to know that is a camera inspection. If you’ve never had a Level 2 inspection, if you’re buying or selling, if you’ve had a chimney fire, or if you’ve lived in the house through one of San Francisco’s earthquakes, a professional camera inspection is the starting point. If the inspection finds a liner problem, a firebox issue, or a fuel conversion in your future, you need a licensed contractor who can get the permit right the first time. Alcott Chimney San Francisco offers free estimates in San Francisco, and every job comes with a written price before work starts, a written guarantee on every repair, and a 365-day accountability window we call the Done Right Promise. Call (831) 534-3789 if you’d like eyes on your chimney before you make any decisions.
Frequently Asked Questions
No. A standard chimney sweep is classified as maintenance, not alteration, and requires no permit, no inspection, and no filing with any municipal body anywhere in California, including San Francisco. The moment the job crosses from cleaning into repair, whether that’s a liner replacement, firebox rebuild, or structural work, a permit is required through the San Francisco Department of Building Inspection. Call (831) 534-3789 if you’re not sure which side of the line your chimney falls on; we’ll tell you straight.
A standard chimney sweep in San Francisco typically runs $180 to $350 before any repairs, depending on the height of the chimney, the accessibility of the roof, and the amount of creosote buildup. If the sweep includes a Level 2 camera inspection, which we recommend for older San Francisco homes, expect the price to run a bit higher. Any liners or repairs found during the sweep are quoted separately, in writing, before any additional work begins. Call (831) 534-3789 for an exact quote on your chimney.
A Level 2 inspection includes everything in a Level 1 visual check plus a camera scan of the entire flue system, from the firebox to the chimney cap. It also checks the accessible portions of the chimney exterior, the clearances to combustibles, and the condition of the liner, smoke chamber, and crown. It’s required by NFPA 211 after a property transfer, chimney fire, earthquake, or fuel-type change, and in San Francisco it’s often the document that determines whether a repair permit is needed.
NFPA 211 says a chimney should be swept when creosote buildup reaches 1/8 inch, which for most wood-burning fireplaces in regular use means once per burning season. In San Francisco, where chilly summer fog can extend fireplace use into July and August, an annual sweep before the heavy-use season is the safest schedule. Homes that burn unseasoned wood, which is common in neighborhoods where firewood is bought in smaller quantities, may need more frequent cleaning. A quick camera check tells you exactly where you stand.
Sometimes yes, sometimes no. Hairline cracks in clay tile that don’t extend into the mortar joints and don’t allow combustion gases to reach the surrounding masonry can be monitored. But any crack that opens a path to combustible framing, or any spalling where pieces of tile are missing, is a fire hazard and a code violation under NFPA 211. In those cases, a stainless liner from a listed brand like DuraFlex is the standard fix. A camera inspection with photo evidence should be the basis for any liner decision, and you should see those photos yourself before approving work.
It depends on the repair. Replacing a gas valve, thermocouple, or igniter inside the firebox is a component repair and does not require a permit. Replacing the appliance itself, changing the venting configuration, or converting from wood to gas does. The safe move is to treat any gas fireplace repair in San Francisco that changes the appliance or its venting as permit territory until a licensed contractor confirms in writing that the specific scope is exempt.
The Bottom Line
Chimney cleaning requires no permit in California. Chimney repair usually does. The line between them is the line between maintenance and alteration, and in San Francisco, that line is enforced by the DBI with real consequences for getting it wrong. Know your trigger words: liner replacement, firebox rebuild, fuel conversion, structural repair. All of them are permit territory. Get everything in writing, demand a fixed price, insist on a written guarantee, and treat the permit card as part of the job. The most expensive chimney repair in San Francisco is the one where someone skipped the paperwork and hoped nobody would notice. Someone always notices. Our team at Alcott Chimney San Francisco has been serving homeowners since 2002, and we’d rather tell you the truth before work starts than explain it after a stop-work order lands on your door.
Written by Ruben Castellano, Owner at Alcott Chimney San Francisco, serving San Francisco since 2002.
See the difference
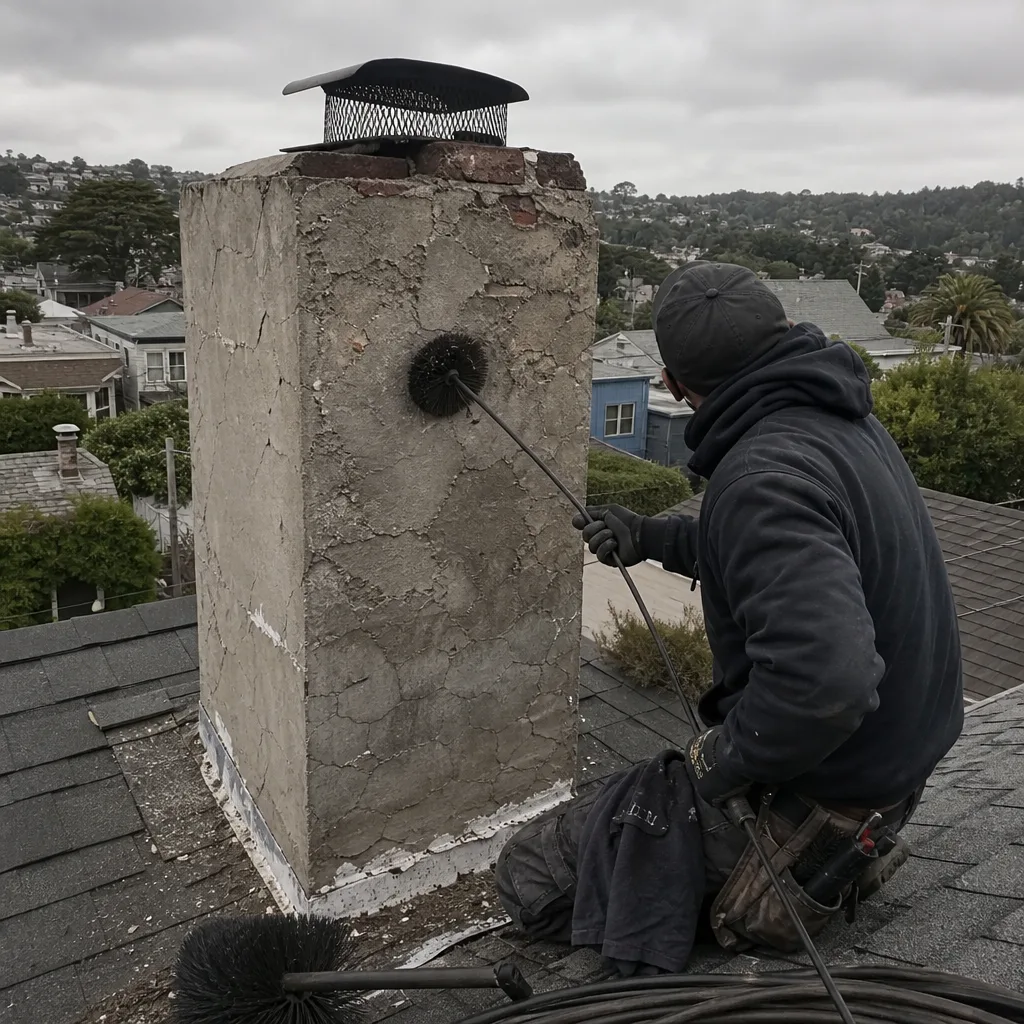 Before
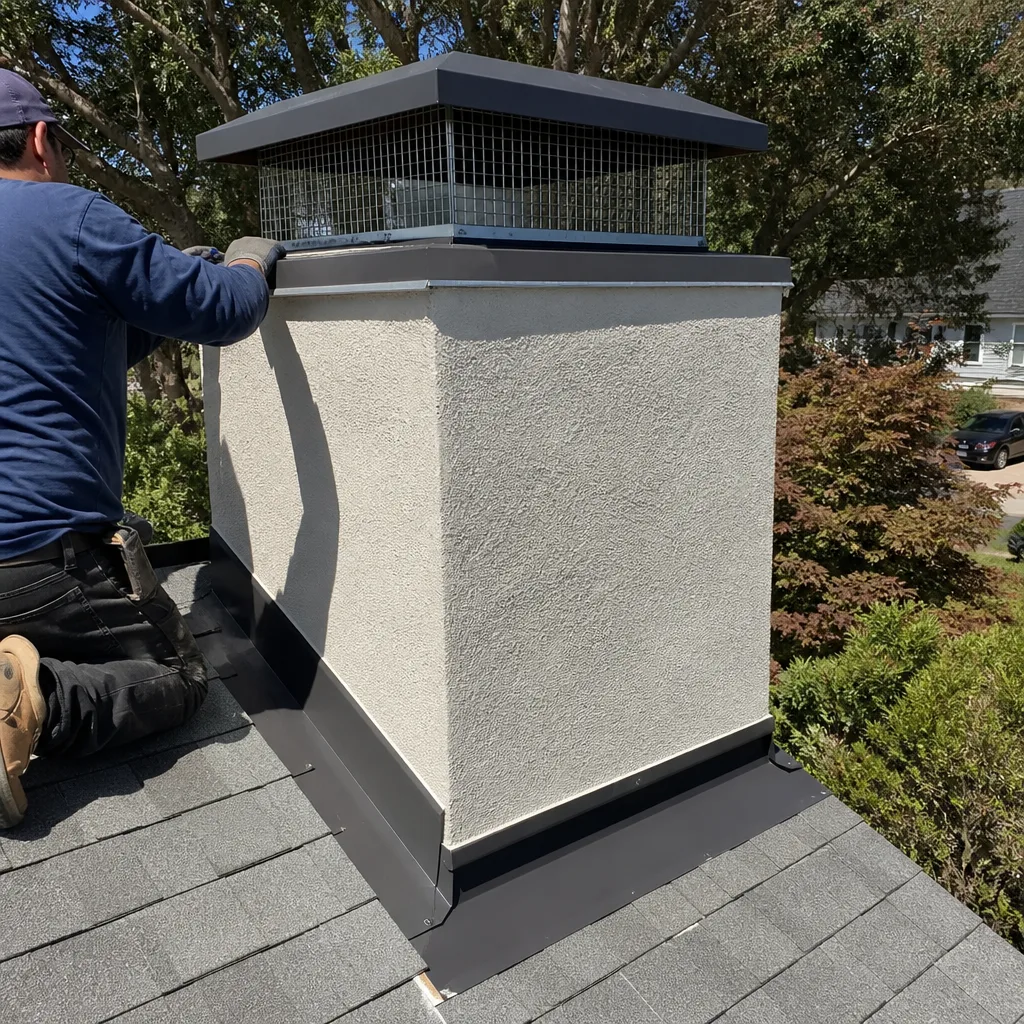 After
After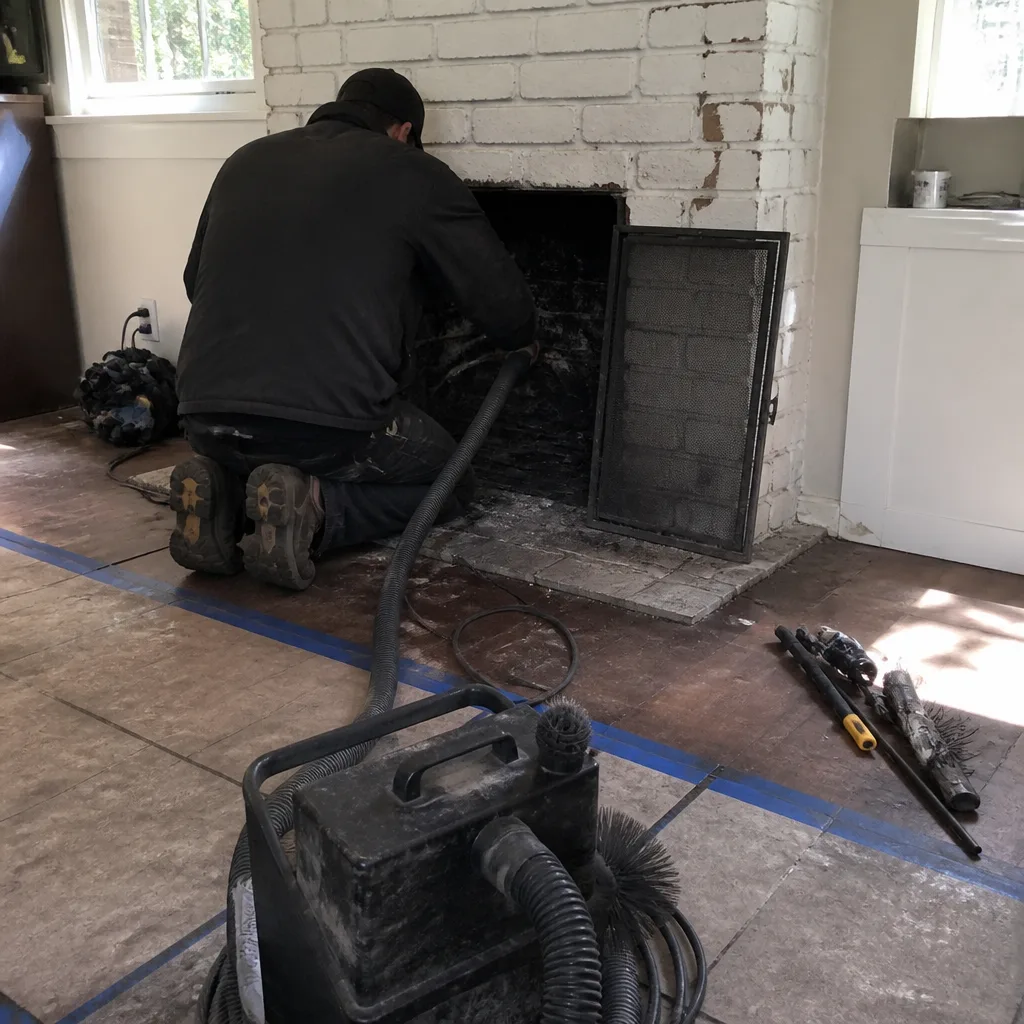 Before
 After
After Before
 After
After